WordPress Local and Debugging

WordPress is a powerful and the most popular content management system (CMS) that allows you to easily create, manage, and customize websites and blogs. It is an open-source CMS, built on PHP and using either MySQL or MariaDB.
- Released in 2003, initially just for blogging, then evolved into a platform for building websites, online stores, forums, landing pages, etc.
- Today, more than 40% of websites worldwide run on WordPress.
There are two versions of WordPress:
WordPress.com
- Hosting service provided by Automattic
- You just register an account, no installation needed
- Limited customization; advanced features require payment
WordPress.org
- Open source, you download and install it on your own hosting/server
- Fully customizable: install plugins, themes, write code, and build any type of website
1 Ecosystem
- Core: the main CMS
- Plugins: add-on software that extends WordPress functionality with new features
- Themes: add-on software that defines the visual appearance and layout of a WordPress site
2 Why WordPress Hacking?
State of WordPress Security in 2024
2.1 Most Popular
- Currently, more than 40% of websites worldwide run on WordPress
- This means hackers only need to find one common vulnerability => they can exploit millions of sites at once
- Similar to the saying: “fish where the fish are”
2.2 Plugins and Themes
- WordPress Core has been reviewed for a long time by thousands of developers and researchers, making it very difficult for attackers to compromise directly.
- However, there are tens of thousands of plugins and themes from various sources with inconsistent quality.
- Many plugins have poor security coding and are outdated. Hackers just need to scan for outdated versions and exploit them.
3 Setup WordPress for Hacking
There are many ways to set up WordPress; searching Google will provide plenty of guides. Here I will set it up on an Ubuntu (22.04) virtual machine:
- Does not affect real machine services
- WordPress is relatively lightweight and works well on a VM
3.1 Install and Configure WordPress
3.1.1 Install Dependencies
Install the full stack required to run WordPress (web server + database + PHP + important extensions):
sudo apt install -y apache2 \
                 ghostscript \
                 libapache2-mod-php \
                 mysql-server \
                 php \
                 php-bcmath \
                 php-curl \
                 php-imagick \
                 php-intl \
                 php-json \
                 php-mbstring \
                 php-mysql \
                 php-xml \
                 php-zip
3.1.2 Install WordPress
Download and install WordPress source into the web directory:
# Create folder to store site source code
sudo mkdir -p /srv/www

# Change ownership to www-data (default user for Apache/Nginx)
sudo chown www-data: /srv/www

# Download the latest WordPress package and extract it into /srv/www
curl https://wordpress.org/latest.tar.gz | sudo -u www-data tar zx -C /srv/www
Download a specific version:
curl https://wordpress.org/wordpress-6.6.2.tar.gz | sudo -u www-data tar zx -C /srv/wwwInstalling from
wordpress.orgis the most reliable and safest approach:
- Ubuntu has a
wordpresspackage in its repository, but it is often outdated compared to the official release.- The WordPress community only supports installations from the official source.
3.1.3 Configure Apache for WordPress
Create & edit /etc/apache2/sites-available/wordpress.conf:
sudo nano /etc/apache2/sites-available/wordpress.confPaste the following content in:
<VirtualHost *:80>
    DocumentRoot /srv/www/wordpress
    <Directory /srv/www/wordpress>
        Options FollowSymLinks
        AllowOverride Limit Options FileInfo
        DirectoryIndex index.php
        Require all granted
    </Directory>

    <Directory /srv/www/wordpress/wp-content>
        Options FollowSymLinks
        Require all granted
    </Directory>
</VirtualHost>
Enable the site:
sudo a2ensite wordpressEnable rewrite module:
sudo a2enmod rewrite(Optional) Disable default site:
sudo a2dissite 000-defaultReload Apache:
sudo service apache2 reload3.1.4 Configure Database
sudo mysql -u rootCREATE DATABASE wordpress;
CREATE USER wordpress@localhost IDENTIFIED BY '<your-password>';
GRANT SELECT,INSERT,UPDATE,DELETE,CREATE,DROP,ALTER ON wordpress.* TO wordpress@localhost;
FLUSH PRIVILEGES;
quitRestart MySQL:
sudo service mysql start3.1.5 Configure WordPress to Connect to the Database
Copy config file:
sudo -u www-data cp /srv/www/wordpress/wp-config-sample.php /srv/www/wordpress/wp-config.phpEdit database info:
sudo -u www-data sed -i 's/database_name_here/wordpress/' /srv/www/wordpress/wp-config.php
sudo -u www-data sed -i 's/username_here/wordpress/' /srv/www/wordpress/wp-config.php
sudo -u www-data sed -i 's/password_here/<your-password>/' /srv/www/wordpress/wp-config.php
Add secret keys and salts from: https://api.wordpress.org/secret-key/1.1/salt/
sudo nano /srv/www/wordpress/wp-config.php3.1.6 Configure WordPress
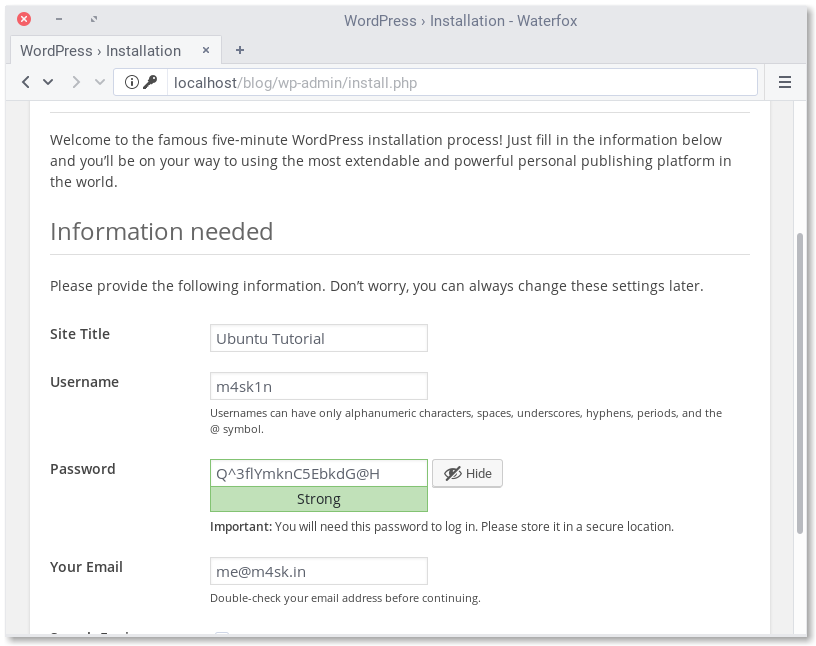
Visit http://localhost and set site title, username, password, and admin email.
3.2 Setup Debug on VSCode
3.2.1 Add PHP Debug Extension on VSCode
Go to Extensions (Ctrl+Shift+X) → search PHP Debug (by Felix Becker) → Install.
3.2.2 Install Xdebug on Ubuntu
sudo apt install php-xdebug -yCheck installation:
php -v3.2.3 Configure Xdebug
sudo nano /etc/php/<version>/apache2/php.iniAppend:
zend_extension=xdebug.so
xdebug.mode=debug
xdebug.start_with_request=yes
xdebug.client_host=127.0.0.1
xdebug.client_port=9003
Restart Apache:
sudo systemctl restart apache23.2.4 Configure VSCode launch.json
Open WordPress folder in VSCode:
code /srv/www/wordpressCreate .vscode/launch.json:
{
  "version": "0.2.0",
  "configurations": [
    {
      "name": "Listen for Xdebug",
      "type": "php",
      "request": "launch",
      "port": 9003,
      "pathMappings": {
        "/srv/www/wordpress": "${workspaceFolder}"
      }
    }
  ]
}
4 Extend
4.1 Required Version
Each WordPress version usually requires a specific PHP version. Always check compatibility.
4.2 WordPress Auto Update
Since WordPress 3.7 (2013), WordPress supports automatic background updates for:
- Security releases
- Maintenance releases
- (Major versions require explicit opt-in)
To disable auto updates, add to wp-config.php:
define( 'WP_AUTO_UPDATE_CORE', false );4.3 Increase Plugin Upload Size
Paste below content into php.ini file.
upload_max_filesize = 64M
post_max_size = 64M
memory_limit = 128M
max_execution_time = 300
max_input_time = 300